
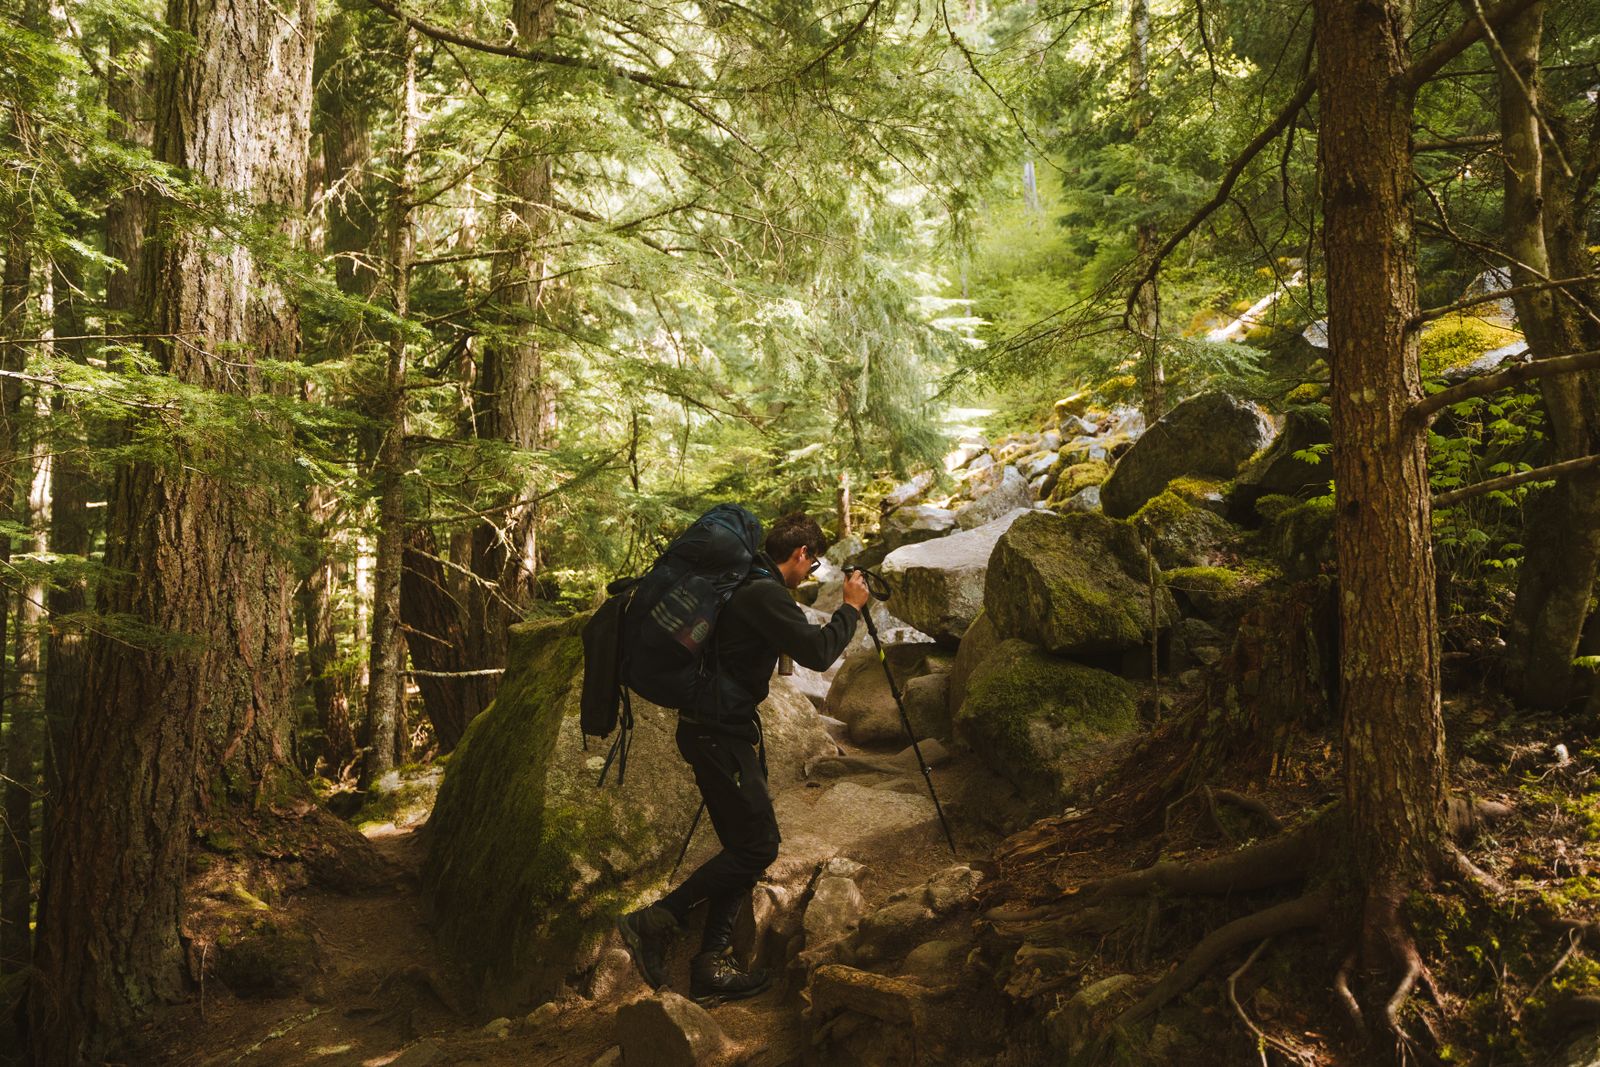
The right daypack is the one that carries what your route calls for and sits comfortably while you move. Start with the hike itself, then work backward from the gear you expect to bring. That simple order helps you avoid paying for features you will not use—or choosing a pack that leaves an essential layer behind.
Begin with the route and your gear list
Think about how long you will be out, the weather, the terrain, and whether you need food, extra clothing, camera gear, or supplies for children. The National Park Service recommends carrying the Ten Essentials and tailoring additional equipment to the activity and conditions. A pack should have room for the essentials you need on your route, rather than a volume chosen just because it sounds roomy. Review the NPS Ten Essentials and check the destination’s current alerts before you go.
Choose capacity by packing first
Pack your usual day-hike items on a table: water, food, a warm or rain layer, navigation, first-aid supplies, and any personal items. Then look at how much space they actually take. REI’s daypack guidance describes 11–20-liter bags as compact options for a layer, food, and day-trip gear, while 21–35 liters can leave room for more clothing and extras. Those ranges are a starting point, not a rule; weather, trip length, and how compact your gear is all matter. See REI’s daypack capacity and fit guide.
If you are deciding between two sizes, try loading both with the same kit. An overlarge pack can encourage you to carry unnecessary weight; a very small one may force you to leave useful gear out or attach it awkwardly.
Treat fit as a first-order feature
Torso length and hip fit matter more than your height alone. Check the manufacturer’s sizing notes, then try the pack with weight inside. Adjust the shoulder straps and any sternum strap or hipbelt, walk around, reach overhead, and bend forward. Notice pressure points, shifting, and whether the pack stays close without restricting your movement. REI also recommends using torso length and hip size as key fit factors in its daypack selection guidance.
A hipbelt can help stabilize a load, but its value depends on the pack design, how much you carry, and whether it fits you comfortably. For a light, short outing, you may prefer a simpler pack. For a longer day or a heavier load, fit and support deserve more attention.
Pick features that solve a real problem
- Water access: Side bottle pockets or a hydration-reservoir sleeve can make drinking easier while moving. Check that your bottle fits and that you can reach it.
- Weather protection: A pack is not automatically waterproof. Consider a rain cover or dry bags if your route and forecast call for them.
- Organization: A few easy-to-reach pockets can help with snacks, a map, or small essentials. Too many compartments can make it harder to remember where things are.
- External attachment points: Loops and compression straps can carry a layer or trekking poles, but they should not replace a properly sized main compartment.
- Multi-use details: A laptop sleeve or travel-attachment feature may be useful if the same bag will also commute. It should not outweigh comfort on the activity you do most.
Make a short try-on checklist
Before choosing, load the bag with your real kit and ask: Can I reach water? Does the pack rub or bounce? Can I add the layer I need? Are the straps easy to adjust? Does the weight feel balanced? If you can, test it in the clothes you would wear on the trail and walk for more than a minute.
Do not let a feature list make the decision for you. A good match starts with your route, carries the items your safety plan requires, and fits your body with the load inside. For a concrete example of how published specs can help narrow the field, see our desk-researched Osprey Daylite Plus review and Osprey Daylite Plus vs. REI Flash 22 comparison.
Sources
General editorial guidance. No hands-on product testing or affiliate links are included.